

💁♀️ 부트스트랩을 이용해봅시다.
◾ 부트스트랩을 사용하려면 필요한 요소가 'container' 입니다. 상위 요소에 container 클래스를 지정해주세요.
◾ row 안에 들어가는 아이템의 col-md-숫자 값의 합은 12 가 되어야합니다.
💡 CSS, JS 추가
🔸 CSS 파일 - head
<link rel="stylesheet" href="./bootstrap-5.0.2-dist/css/bootstrap.min.css">
🔸 JS 파일 - body 끝나기 전
<script src="./bootstrap-5.0.2-dist/js/bootstrap.bundle.min.js">
◾ 스크립트는 페이지가 만들어지고 밑에 넣어주어야 한다.
◾ 스크립트 실행 자체를 페이지 로드 후에 실행하도록 한다.
📂 부트스트랩 파일
◾ example파일은 html
◾ dist파일은 css, js
⭐CSS, JS는 static이 최상단 파일이고, html은 templetes가 최상단 파일이다.
💡 부트스트랩 위치 변경
◾ shop/src/main/resources/static/bootstrap-5.0.2-dist
◾ dist 파일은 하단에 넣어준다.
◾ src/main/resources/templetes/member/memberLoginForm.html
◾ 해당 파일을 부트스트랩을 이용하여 수정할 것이다.
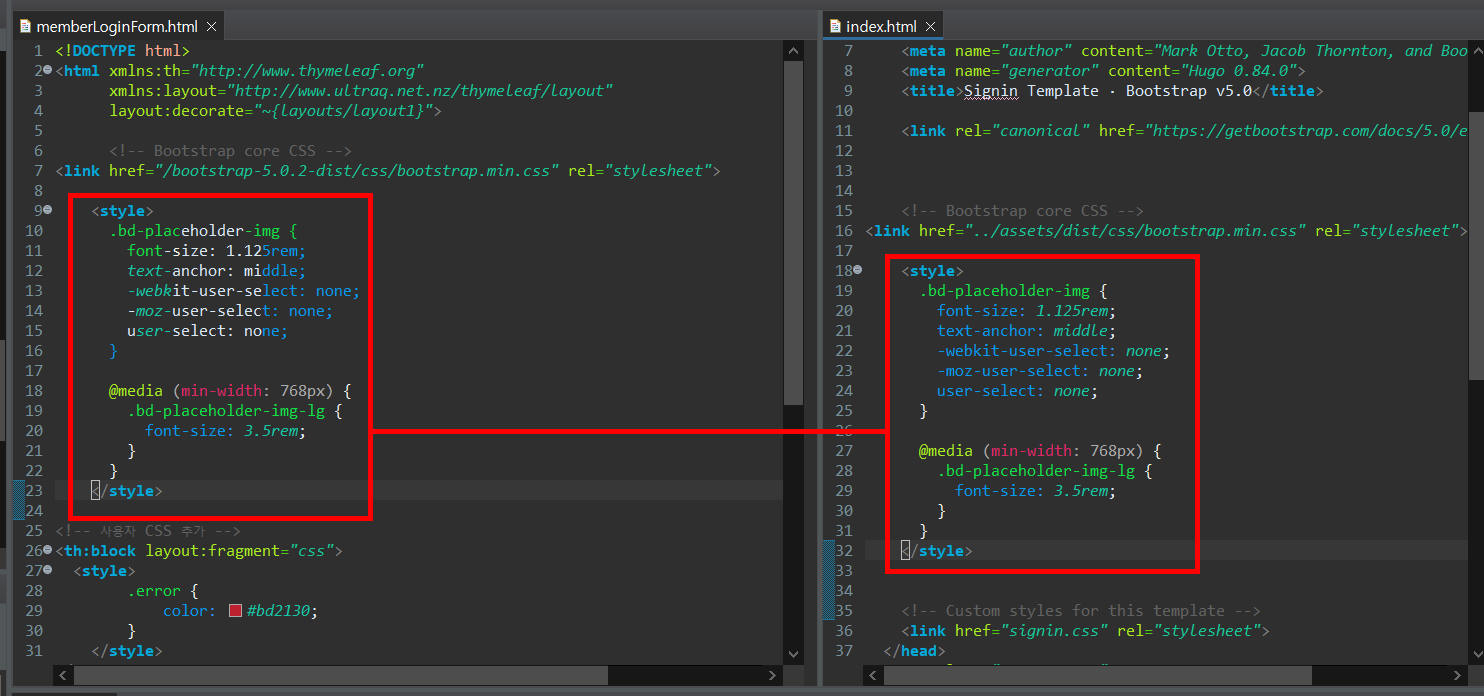
◾ CSS를 추가한다.
<!-- Bootstrap core CSS -->
<link href="/bootstrap-5.0.2-dist/css/bootstrap.min.css" rel="stylesheet">
<style>
.bd-placeholder-img {
font-size: 1.125rem;
text-anchor: middle;
-webkit-user-select: none;
-moz-user-select: none;
user-select: none;
}
@media (min-width: 768px) {
.bd-placeholder-img-lg {
font-size: 3.5rem;
}
}
</style>
<!-- Custom styles for this template -->
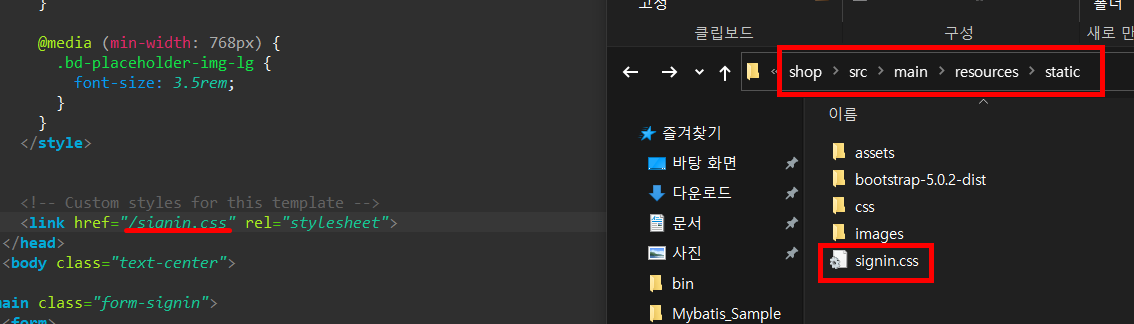
<link href="signin.css" rel="stylesheet">◾ 하나씩 추가하는 과정이다.
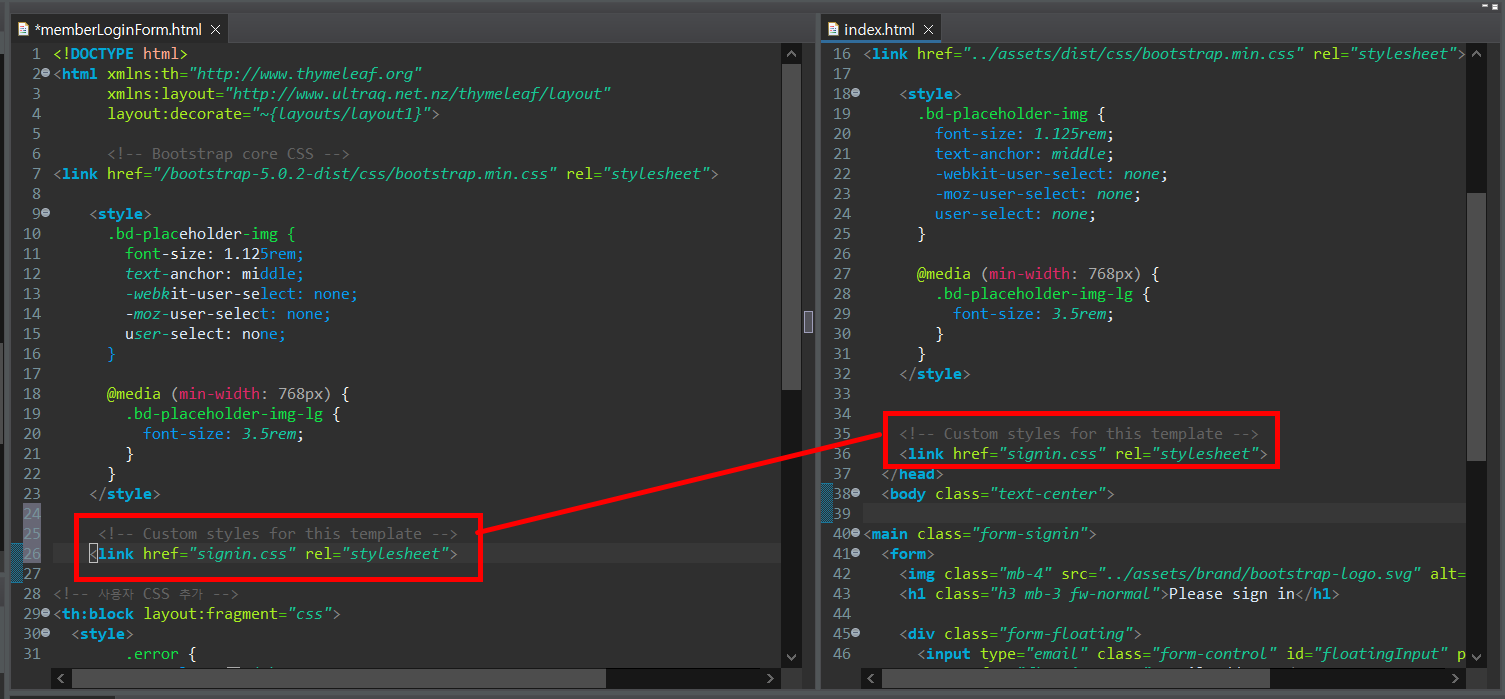
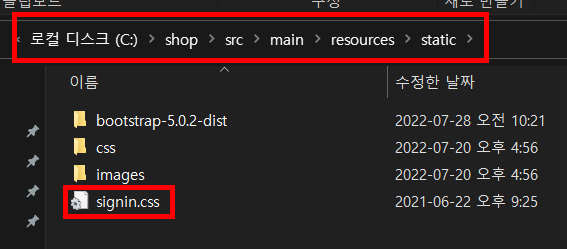
◾ CSS의 경로를 바꿔준다.

◾ CSS의 경로는 shop/src/main/resources/static 안에 넣어준다.
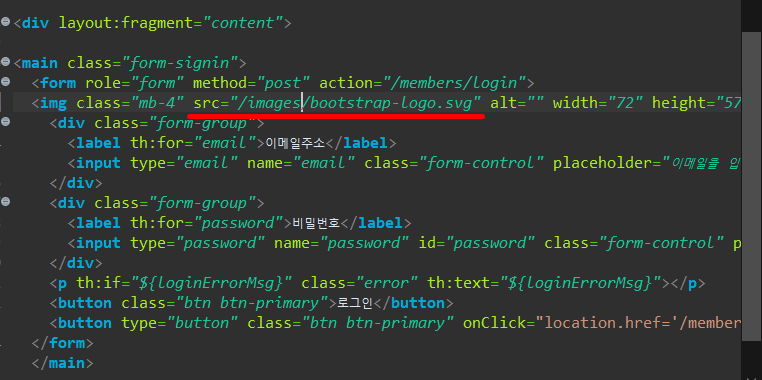
◾ <main> 태그로 <form> 태그를 감싸고 있으므로 추가한다.
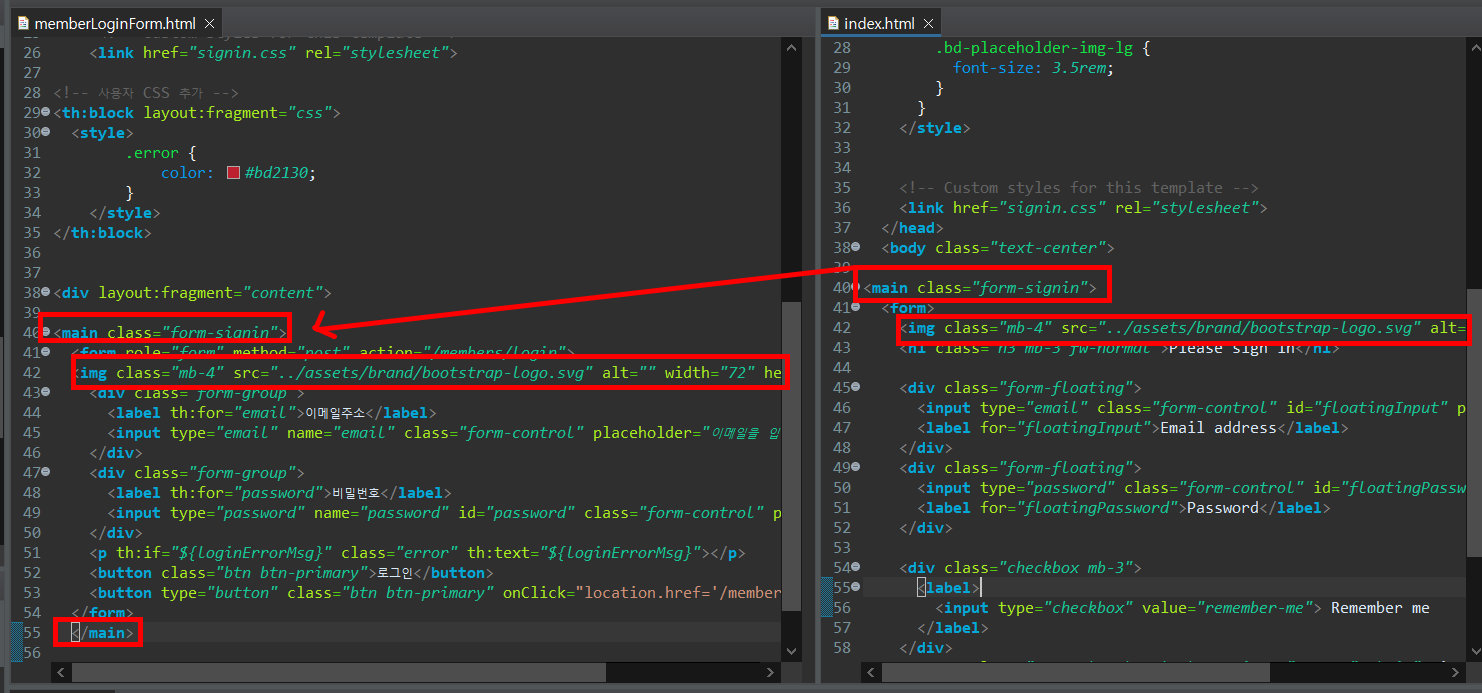
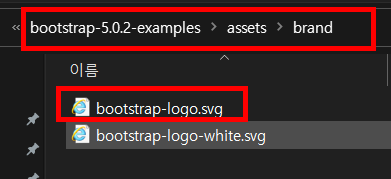
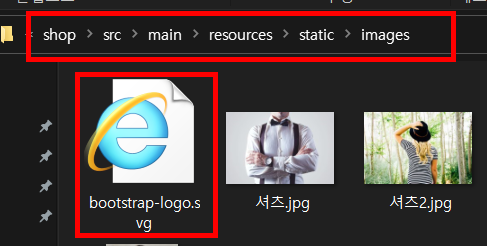
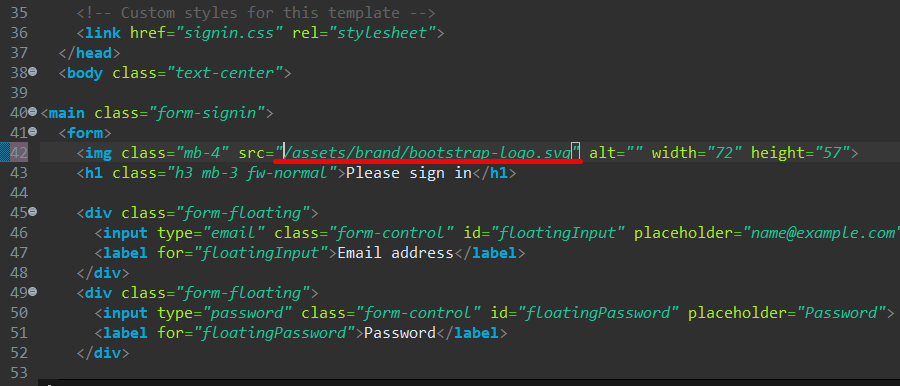
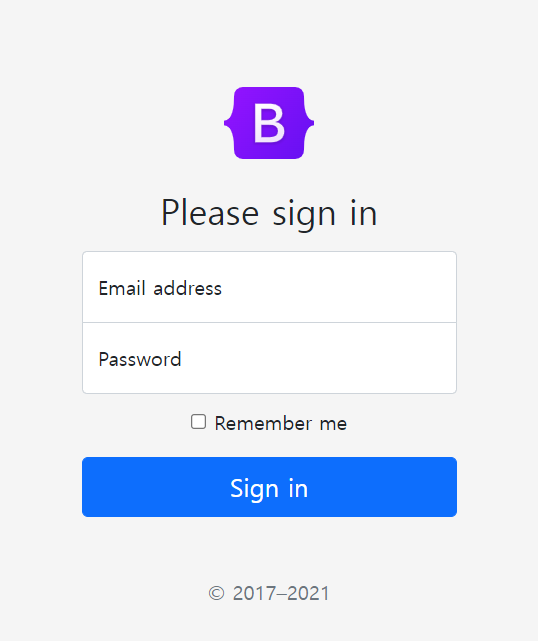
◾ 로고를 추가하였으므로 이미지의 경로를 바꿔준다.
◾ bootstrap-5.0.2-examples/assets/brand --> shop/src/main/resources/static/images/bootstrap-logo.svg
◾ 경로를 바꿔서 추가한다.
◾ src = "/images/bootstrap-logo.svg"
💁♀️ 지금까지는 본래 있던 html안에 부트스트랩을 뽑아서 추가해 보았는데, 이번에는 만들어진 파일에서 해보겠습니다.
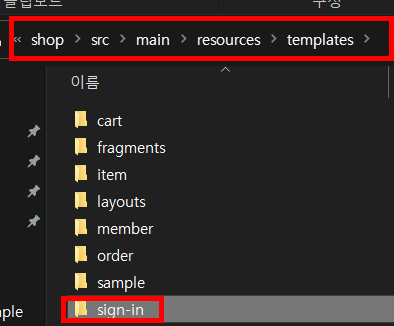
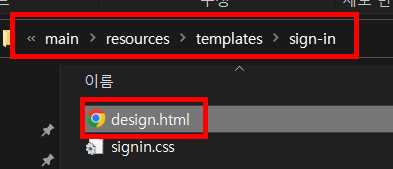
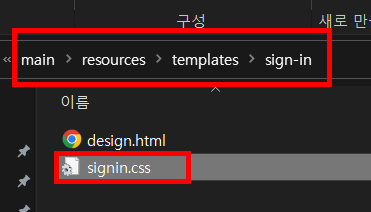
◾ example폴더에 있던 sign-in폴더를 shop/src/main/resources/templates/sign-in 경로로 넣어준다.
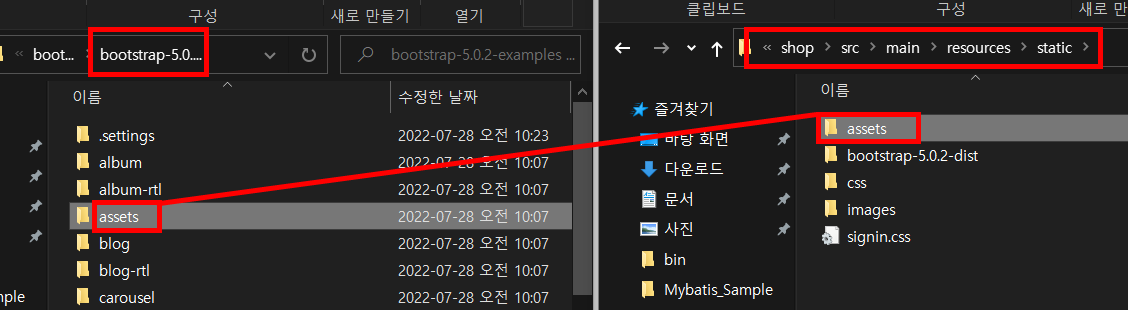
◾ CSS, JS, img 파일도 필요하므로 assets을 복사해서 shop/src/main/resources/static/assets 경로로 넣어준다.
◾ 편의상 sign-in 안에 있는 index.html폴더를 desing.html로 바꾼다.
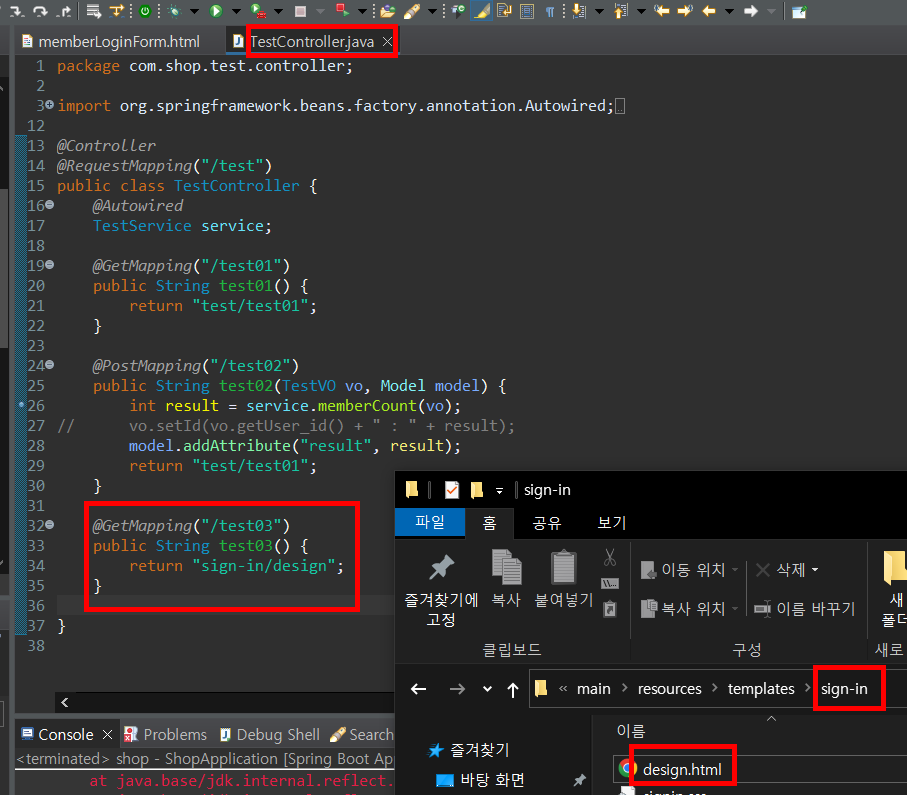
◾ TestController.java 파일 안에 @GetMapping으로 /test03 url에 접근했을 때 design.html을 띄운다.
◾ CSS의 경로를 수정한다.
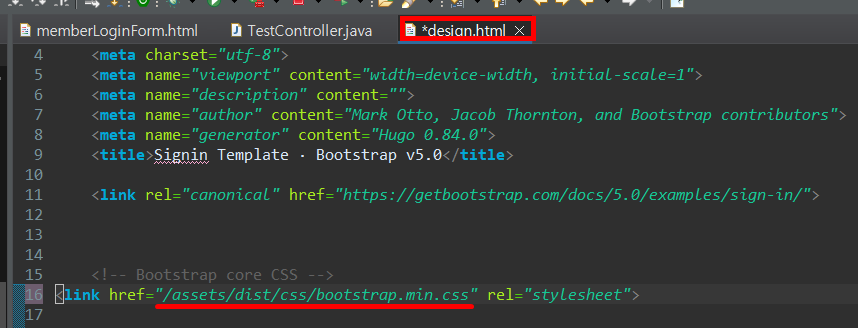
▪️ CSS가 적용되지 않아서 signin.css의 경로를 확인하고 파일을 추가합니다.
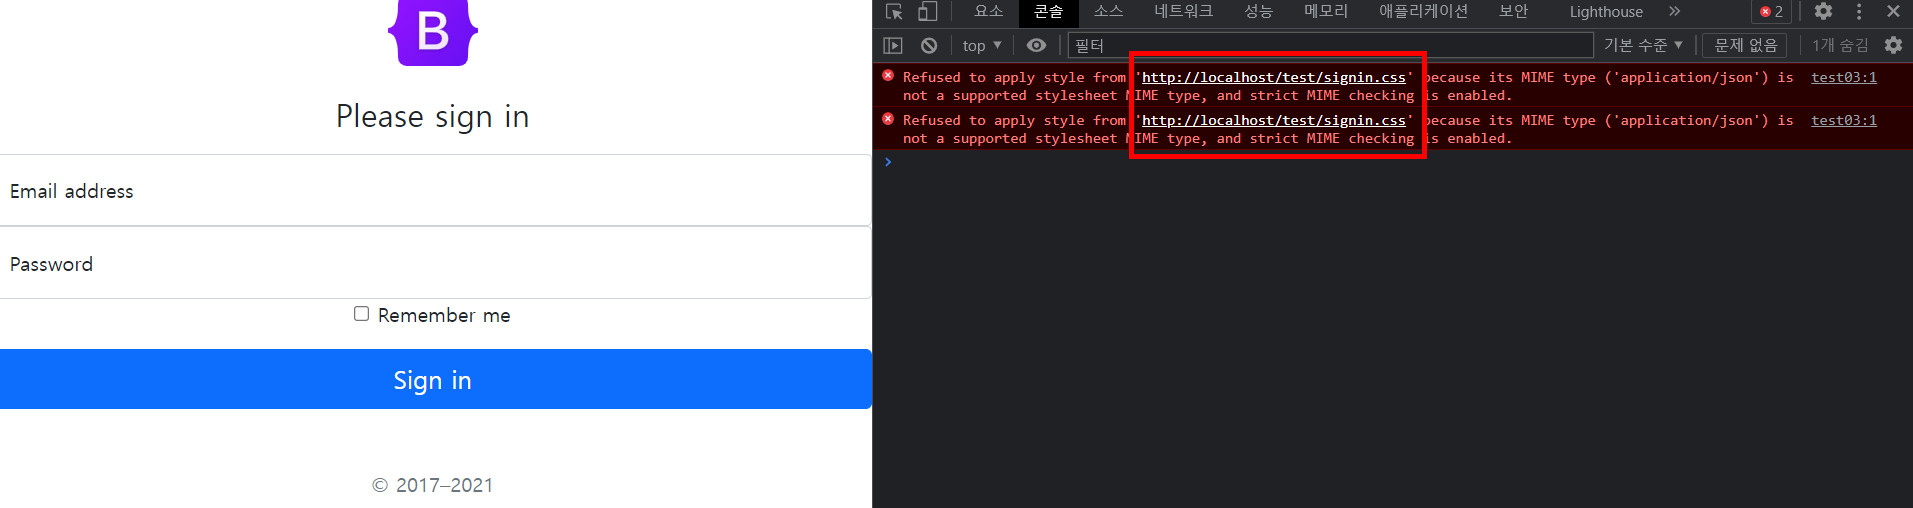
▪️ 경로 수정
▪️ css가 적용된 것을 확인할 수 있다.
CodePen
An online code editor, learning environment, and community for front-end web development using HTML, CSS and JavaScript code snippets, projects, and web applications.
codepen.io
https://getbootstrap.com/docs/5.0/examples/
Examples
Quickly get a project started with any of our examples ranging from using parts of the framework to custom components and layouts.
getbootstrap.com
The collaborative browser based IDE
Replit is a simple yet powerful online IDE, Editor, Compiler, Interpreter, and REPL. Code, compile, run, and host in 50+ programming languages.
replit.com
https://replit.com/languages/java10
Java Online Compiler & Interpreter
Write and run Java code using our Java online compiler & interpreter. You can build, share, and host applications right from your browser!
replit.com
'Back-End > Spring Boot' 카테고리의 다른 글
| Spring Boot - 서버 (0) | 2022.08.31 |
|---|---|
| Spring Boot - 서버 환경설정 및 구축 (0) | 2022.08.31 |
| Spring Boot - 실습 test파일 수정 (0) | 2022.07.27 |
| Spring Boot - 상품 등록하기 (0) | 2022.07.27 |
| Spring Boot - 실습 (0) | 2022.07.26 |


댓글